Trezor.io/Start: A Complete Beginner's Guide to Secure Crypto Management 🔐
In the ever-evolving world of cryptocurrency, ensuring your digital assets are safe is paramount. While exchanges offer convenience, they aren’t always the most secure option for storing your coins. That’s where Trezor.io/Start steps in — your trusted gateway to setting up one of the most secure hardware wallets on the market. Whether you’re a crypto rookie or a seasoned investor, this guide will help you understand how to get started with Trezor, and why it’s one of the best tools for protecting your crypto.
🔑 What is Trezor.io/Start?
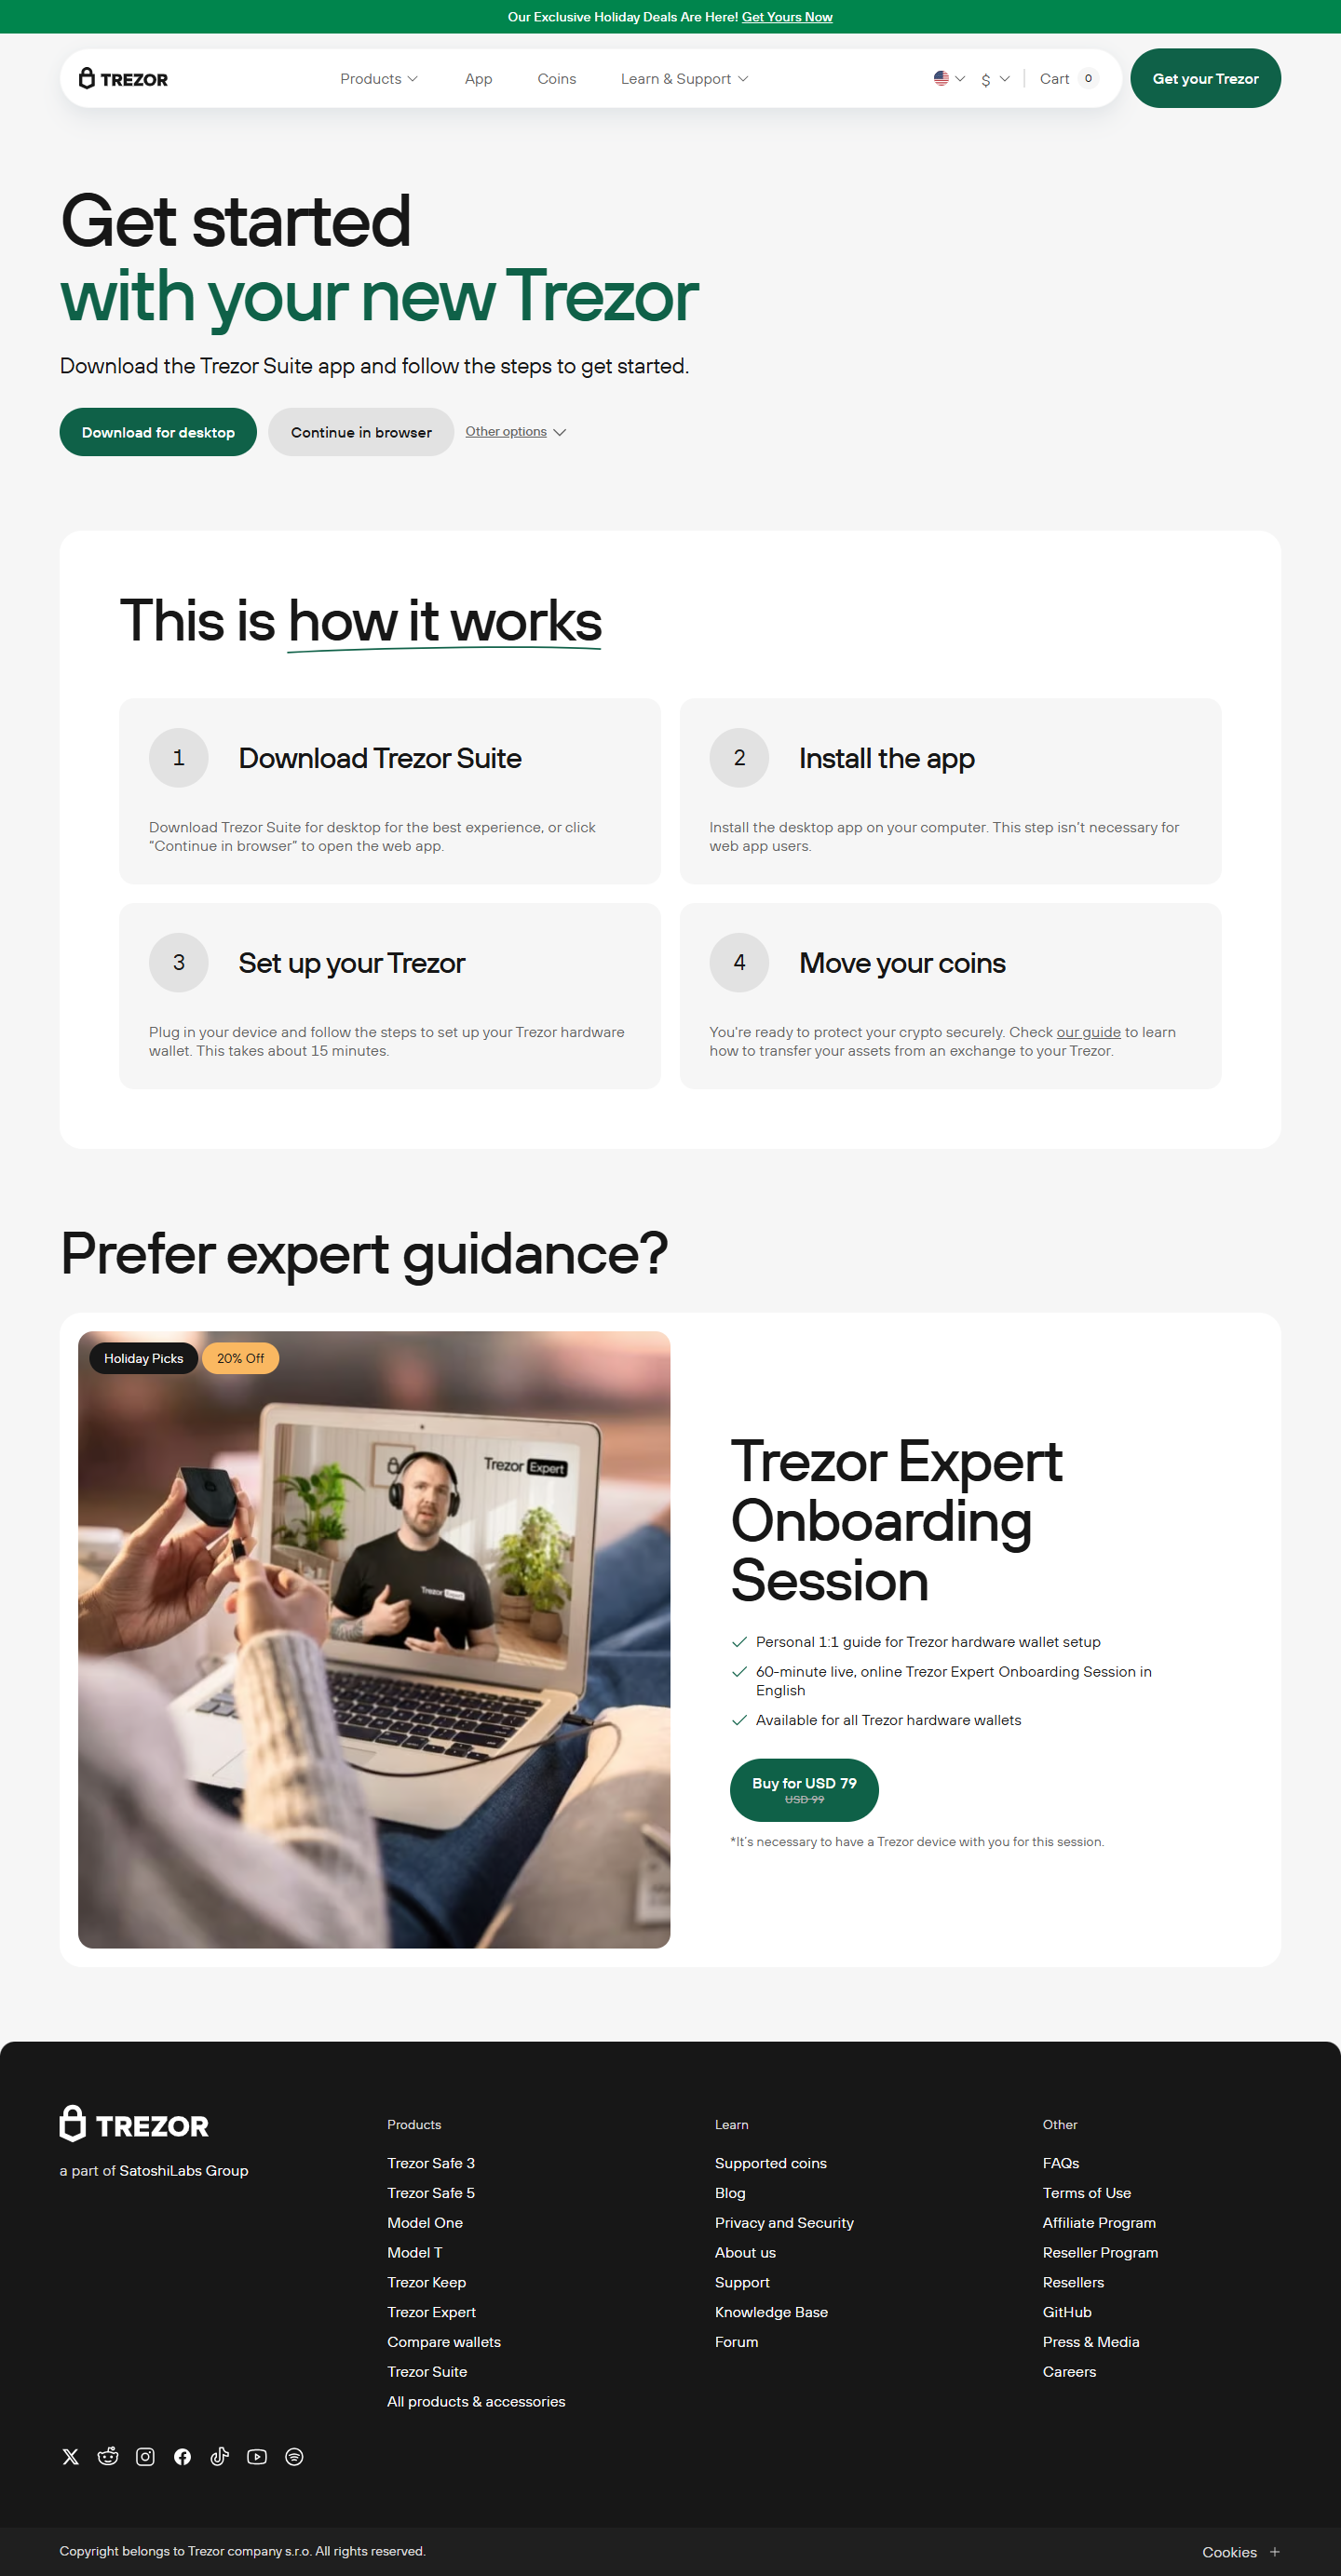
Trezor.io/Start is the official setup page for Trezor hardware wallets — devices designed to store your cryptocurrencies offline, away from the reach of hackers. This page provides step-by-step instructions to initialize, update, and use your Trezor wallet securely. The intuitive setup process makes it easy for beginners to navigate and start managing their assets with confidence.
When you purchase a Trezor device, your first stop should be https://trezor.io/start. This page helps you:
- Set up your new wallet
- Install the Trezor Bridge or Suite
- Securely generate and back up your recovery seed
- Access your portfolio and track your assets
🛡️ Why Choose Trezor Wallet?
Trezor Wallet is a market leader in the world of crypto security. Created by SatoshiLabs, it was the world’s first hardware wallet and remains one of the most trusted brands today. The Trezor Wallet offers unmatched protection for Bitcoin, Ethereum, and over 1,000 other digital assets.
Key Benefits of Using a Trezor Wallet:
- Cold Storage Security: Keeps your private keys offline, safe from online threats.
- User-Friendly Interface: The Trezor Suite software provides a sleek and intuitive experience.
- Multi-Coin Support: Manage multiple cryptocurrencies in one place.
- Passphrase & PIN Protection: Adds an extra layer of defense in case your device is lost or stolen.
- Open-Source Technology: Regularly audited and transparent development.
🧭 How to Set Up Trezor.io/Start in Simple Steps
Getting started with your Trezor device is easier than you think. Follow these simple steps to start your crypto security journey:
✅ Step 1: Visit the Official Page
Go to Trezor.io/Start and choose your device model — either Trezor Model One or Trezor Model T.
✅ Step 2: Install Trezor Suite
You’ll be prompted to download Trezor Suite, a powerful desktop application that connects your wallet to your computer. It’s available for Windows, Mac, and Linux.
✅ Step 3: Connect Your Device
Plug your Trezor into your computer via USB. Follow on-screen instructions to install firmware and begin setup.
✅ Step 4: Create a New Wallet
Once initialized, you’ll be asked to create a new wallet. This will generate a recovery seed — a 12 to 24-word phrase that acts as your backup key.
Important: Write down your seed and store it in a safe, offline location. Never take photos or save it on a digital device.
✅ Step 5: Set Up PIN and Optional Passphrase
Next, you’ll set a PIN code to access the device. You can also add an optional passphrase for added protection.
✅ Step 6: Start Managing Your Crypto
You’re ready to go! Use Trezor Suite to buy, send, receive, and manage your assets securely.
💹 Managing Crypto Safely with Trezor Wallet
Once your device is set up, Trezor Wallet becomes your command center. You can:
- Monitor real-time portfolio performance
- Swap coins directly within the Suite
- Access decentralized apps (dApps)
- Track transaction history
Thanks to regular updates from Trezor, you can rest assured that your wallet is always protected against emerging threats.
🧠 Pro Tips for Trezor.io/Start Users
- Bookmark the official site: Always visit https://trezor.io/start directly to avoid phishing sites.
- Enable auto-updates in the Suite to stay secure.
- Don’t share your recovery seed, not even with trusted individuals.
- Store your Trezor in a safe when not in use, especially if you’re holding large amounts.
🚀 Final Thoughts
Using Trezor.io/Start is one of the smartest moves you can make to secure your cryptocurrency. By taking just a few minutes to set up your Trezor Wallet, you’re giving yourself peace of mind and control over your digital assets. Whether you hold Bitcoin, Ethereum, or altcoins, your funds deserve the gold standard in protection.
Your crypto, your control — start your journey today at Trezor.io/Start. 🔐
Ask ChatGPT
Made in Typedream